本文最后更新于 <span id="expire-date"></span> 天前,文中部分描述可能已经过时。
安装 Ubuntu
安装 AnLinux app
安装 Ubuntu
点击展开
打开 AnLinux 的仪表盘,选择推荐的第一个 Ubuntu,得到以下命令并在 Termux 中运行
pkg install wget openssl-tool proot -y && hash -r && wget https://raw.githubusercontent.com/EXALAB/AnLinux-Resources/master/Scripts/Installer/Ubuntu/ubuntu.sh && bash ubuntu.sh等待安装完成
启动 Ubuntu
./start-ubuntu.sh
初始化操作
apt-get update&&apt-get upgrade
apt-get install sudo
sudo apt-get install curl wget unzip unrar screenfetch w3m
如果出现:
Do you want to continue? [Y/n] y
Abort.
提前在install指令的后面加上 -y 即可。
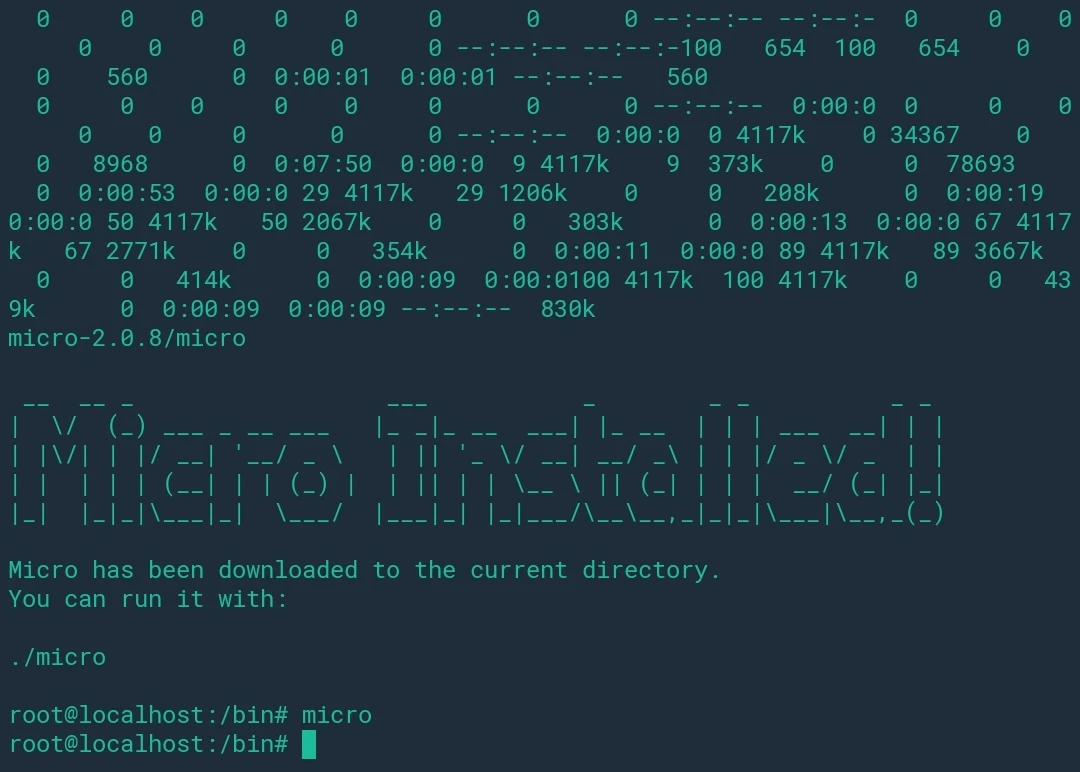
给我们的 Ubuntu 安装一个 micro 文本编辑器,比 vim 容易上手。
cd ../bin
curl https://getmic.ro | bash
声卡驱动
安装 pulsesudo apt install pulseaudio
sudo apt install pavucontrol查看声卡ID和名字
pactl list sources short
报错:
Connection failure: Connection refused
pa_context_connect() failed: Connection refused
试试
pulseaudio --startW: [pulseaudio] main.c: This program is not intended to be run as root (unless --system is specified).
好像不理它也能用,或者看看pulseaudio run as root [duplicate]
重新查看声卡ID和名字,显示:0 auto_null.monitor module-null-sink.c s16le 2ch 44100Hz SUSPENDED
似乎能用的样子。
但我们还需要修改配置文件,使用前面安装的 micro 编辑器打开它
micro ../etc/pulse/default.pa
最后一行写上
load-module module-simple-protocol-tcp rate=44100 format=s16le channels=2 source=0 record=true port=12345
只用一行,不要回车断开。
rate、format、source 分别改成前面获取的数据,根本对应 音频采样率、声卡名字、声卡ID,端口随意,别被占用就行。
Ctrl+C 保存,Ctrl+Q 退出。pulseaudio --start重启 pulse 服务安装并打开 Simple Protocol Player
如果是本机,ip 填 localhost 或者 127.0.0.1,端口和采样率按照刚才的参数填写。
解决中文乱码
- 安装中文支持包language-pack-zh-hans:
sudo apt-get install language-pack-zh-hans
micro ../etc/environment(在文件的末尾追加):LANG="zh_CN.UTF-8"
LANGUAGE="zh_CN:zh:en_US:en"micro ../var/lib/locales/supported.d/local同样在文件末尾添加:en_US.UTF-8 UTF-8
zh_CN.UTF-8 UTF-8
zh_CN.GBK GBK
zh_CN GB2312- 最后执行命令
sudo locale-gen,显示:中文字体生效 ✌Generating locales (this might take a while)...
en_US.UTF-8... done
zh_CN.GB2312... done
zh_CN.GBK... done
zh_CN.UTF-8... done
zh_SG.UTF-8... done
Generation complete.
安装 vncviewerwget https://raw.githubusercontent.com/EXALAB/AnLinux-Resources/master/Scripts/DesktopEnvironment/Apt/Xfce4/de-apt-xfce4.sh && bash de-apt-xfce4.sh
等了十年八载终于完成,进行过程中有一些报错,安装结束以后不能用😩
点击展开
vncserver-stop. 100%[=====>] 100 --.-KB/s in 0s |
解决:/usr/local/bin/vncserver-start: line 4: vncserver: command not found
apt-get安装软件包的时候遇到E: Sub-process /usr/bin/dpkg returned an error code (1)问题
然后使用vnc远程连接桌面
发现黑屏,中间的方块是鼠标
原因: Xfce4也未安装成功
需要重新安装Xfce4
导致Xfce4和vnc未安装成功的原因:
下载Xfce4和vnc的安装文件时,部分文件未下载成功,安装执行失败
解决方法:
一 换 linux源
二 开梯子不能下载的文件关梯子 反之亦然
MMP主力机第一次安装成功,卸载后重装老是报错,不明白哪步出了问题,同样的步骤在闲置机上非常顺利。
debconf: (No usable dialog-like program is installed, so the dialog based frontend cannot be used. at /usr/share/perl5/Debconf/FrontEnd/Dialog.pm line 76.) |
A display manager is a program that provides graphical |
安装软件遇到的问题
- 已安装 nodejs,node -v 正常,但 npm 命令 not found
sudo apt-get install -y npm |
遇到报错
Sudo: setrlimit(RLIMIT_CORE): Operation not permitted |
试试 micro ../etc/sudo.conf,填写:
Set disable_coredump false |
sudo apt install -y snapd |
安装成功,但使用 snap 命令时不知为何总是卡住
root@localhost:~# sudo snap install telegram-desktop error: cannot communicate with server: Post http://localhost/v2/snaps/telegram-desktop: dial unix /run/snapd.socket: connect: no such file or directory |
安装火狐浏览器
sudo apt-get install firefox |
Scrcpy
sudo apt install scrcpy |
|
# sudo service --status-all |